So all you truckers out there, whether you’re driving across the country or managing your own fleet, understanding zerk fittings is key to your truck running smoothly and reliably. Zerk fittings, those little buggers hidden away in your truck’s chassis and suspension, are the lifeline to keeping all the moving parts of your truck running smoothly. This guide is for you, the backbone of the transport industry, to get to know zerk fittings—what they are, how to check them in your daily checks, and how to use them to keep your truck in top shape. Let’s get into the nitty gritty of zerk fittings and get your maintenance ready.
What is a Zerk Fitting?
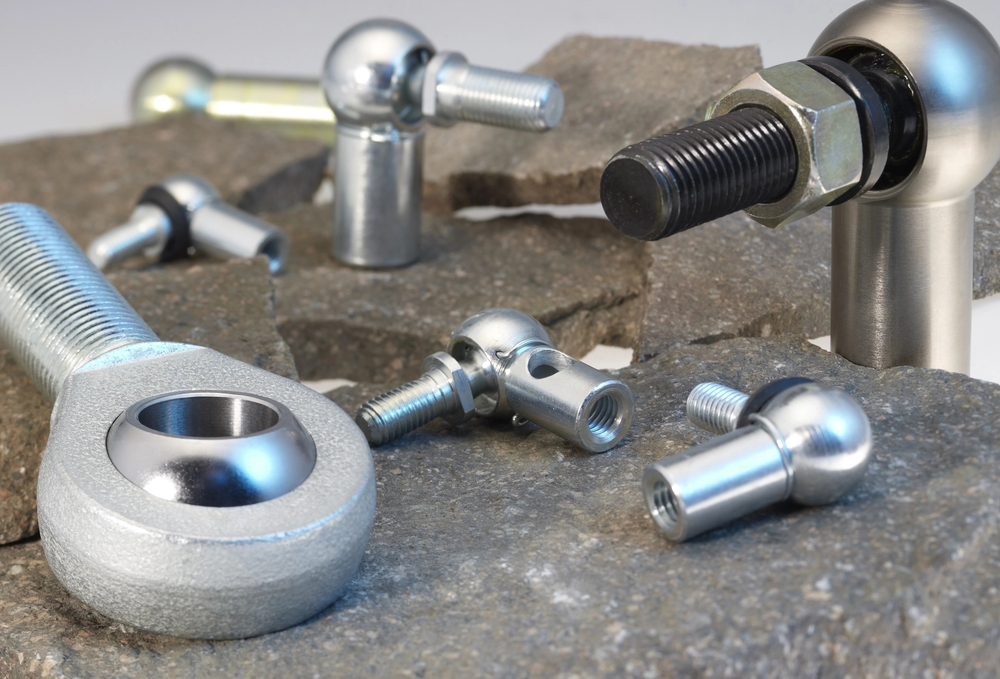
Zerk fittings, also known as grease fittings in the trucking world, are the key to lubricating your rig’s mechanical systems. These little buggers owe their name to the inventor Oscar U. Zerk and are designed to allow you to apply grease directly into bearings and other vital parts of your truck without having to take anything apart.
For truckers, the importance of zerk fittings can’t be overstated. Found in the most critical areas of your vehicle—from the moving parts in your clutch system to the heavy load-bearing parts—these fittings are located at the lubrication points. Their job? To reduce friction and protect your truck from the kind of wear and tear that’ll stop you in your tracks. Whether you’re doing daily maintenance or getting ready for a long haul, understanding and using zerk fittings is key to keeping your truck running smoothly and efficiently.
Greasing
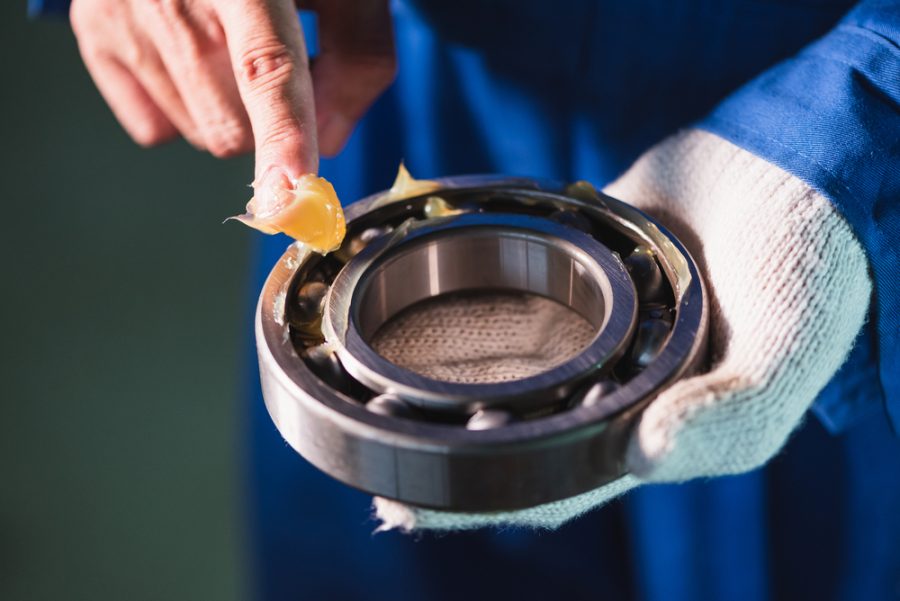
Lubricating your truck is more than just maintenance work; it’s a vital routine to keep your rig running longer. Think of grease not just as a lubricant but as a seal, reducing friction between moving parts and blocking dirt and debris. Without regular greasing your truck’s components will wear out faster and you’ll be looking at big repair bills or replacement parts.
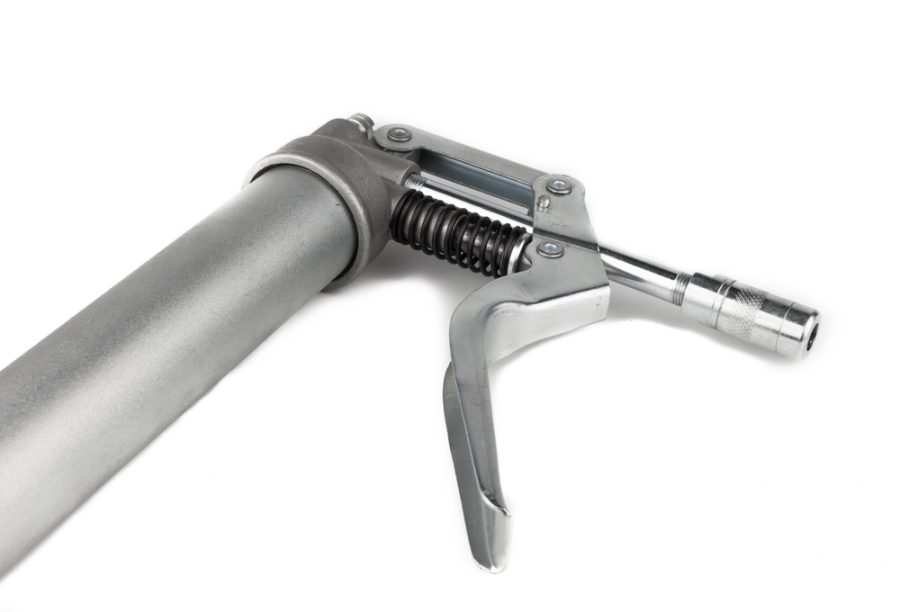
For you, the driver, understanding grease fittings and lubrication points is key to keeping your semi-truck healthy and running efficiently. Those zerk fittings, or grease nipples as they’re sometimes called, are your best friends on the road. They’re designed to allow you to grease right where you need to, so your truck parts get the care they need without mess or waste.
These fittings and points are a bridge between your greasing equipment and your truck, so grease gets delivered to the parts that wear out the most. The areas on your semi that need this last bit of maintenance are joints, bearings, and any other moving parts that keep you rolling.
Thanks to Zerk fittings lubricant application is cleaner, quicker, and more efficient. That means less time in the shop and more time on the road. By focusing on these lubrication practices you may find you’re not just maintaining your truck; you’re investing in its longevity and performance.
How to Grease Zerk Fittings
Finding Zerk Fittings and Grease Points
Start by finding the zerk fittings on your equipment. These small metal fittings are usually located on moving parts of trucks, machinery gears, clutches, and other critical components. A good place to start is to check your equipment’s user manual which should list all the grease points. Research online can help you find a forum or posts on online mechanic communities which can be a great resource for finding this information, especially for older models where manuals may not be available.
Clean the Fitting Area
Before greasing make sure to clean the area around the zerk fitting. This prevents dirt and debris from getting into the parts you’re trying to protect. A brush or cloth will do. Cleaning the fitting is a simple way to avoid costly repairs down the line.
Attach the Grease Gun
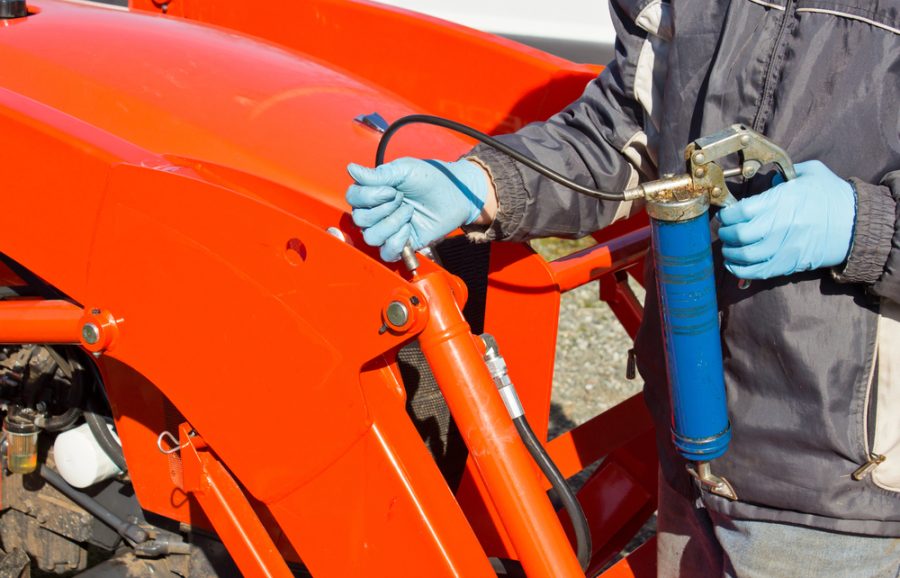
With the area clean attach the nozzle of your grease gun to the filter of the fitting. Make sure it’s a tight connection to prevent grease from leaking out during application. If you can’t get the grease gun to attach don’t force it, you may damage the fitting. Instead, check that you’re using the correct type of grease gun and that the filter of the zerk fitting isn’t damaged or clogged.
Apply the Grease
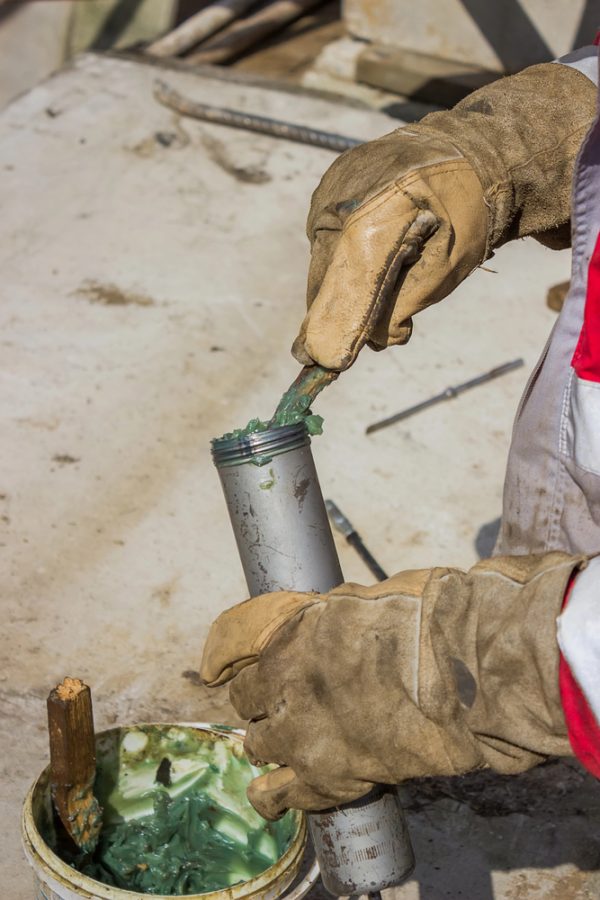
Once attached pump the grease into the fitting. The amount of grease required will vary depending on the part and usage. As a general rule a few firm pumps from the grease gun is sufficient but always check the manufacturer’s guidelines for the recommended amount. Over-greasing can be just as bad as under-greasing and cause increased pressure and seal damage.
Remove and Clean
After greasing carefully remove the grease gun and clean and remove any excess grease from the fitting and surrounding area. This keeps your gear and machinery clean and allows you to inspect the fitting for any signs of leakage or damage after greasing.
Greasing Tips
- Frequency: Schedules are key. The frequency of greasing will depend on the equipment’s workload and environment.
- Grease: Use the correct type of grease as recommended by the equipment manufacturer. Different equipment may require different grease formulations.
- Tools: Make sure your grease gun is in good condition. A bad gun will make greasing difficult.
- Records: Keep a maintenance log. This will help you know when the equipment was last greased and when it’s due for the next one.
No Excuses
Lubrication is the foundation of a smooth and efficient running truck and protection against wear and tear that can lead to costly repairs. In summary, maintaining truck health goes back to the simple practice of regular and thorough lubrication, a critical habit that extends the life of your vehicle and performance. It’s a simple but effective step you can do as a vehicle owner to keep your trucks in top condition. So to all readers: grease your vehicles regularly. This simple act is a big step to reliable and long-lasting vehicle health and shows you care not just for your truck but for your safety and journey.
